How to migrate from Citrix XenServer 7.x to Nutanix AHV
AHV, Citrix, Citrix Hypervisor, Nutanix, Nutanix AHV, XenServer

This is a step by step guide on how to migrate a VM ( Virtual Machine ) running on Citrix XenServer 7.x / Citrix Hypervisor and newer to Nutanix AHV.
To migrate your existing VMs from XenServer 7.x to Nutanix AHV there are a few steps required. You have to prepare the source VM(s), identify the VHD files, move the VHD to a Nutanix Container, import the disk images and re-create the VM in Nutanix Prism.
The most common migration method in virtualized environments involves moving an existing operating system and the applications therein, without modification. Nutanix AHV supports a wide range of operating systems that can be migrated from either physical or virtual environments. You can also migrate VMs using the Unified Extensible Firmware Interface (UEFI) where you have installed the Acropolis Operating System (AOS) 4.6.1 or later. The specific recommended virtual hardware, such as SCSI or PCI bus types, depends on the operating system. For a current list of supported operating systems and recommended bus types, please see the Supported Guest VM Types for AHV section of the Acropolis App Mobility Fabric Guide.
Nutanix’s AHV Hypervisor was built from the ground up to provide a much simpler and more scalable hypervisor and associated management platform by leveraging the software intelligence of the hyperconverged architecture. AHV changes the core building block of the virtualized datacenter from hypervisor to application and liberates virtualization from the domain of specialists – making it simple and easily manageable by anyone from DevOps teams to DBAs.
Nutanix recommends using AOS 4.5.x or later and AHV-20160217.2 or later. See the Hypervisor Details page on the Nutanix Support Portal for all the AHV versions.
Also please consider to read MIGRATING VM DISKS TO AHV STORAGE (ACROPOLIS DISTRIBUTED STORAGE FABRIC)
Let´s start with the Windows VM running on the current XenServer Hypervisor.
Please note that if you are migrating from Linux and you do not have XenServer Tools installed or any devices, you can skip this section and move over to the Nutanix AOS/Prism part.
First we need to prepp source VM:
- Uninstall Citrix XenServer Windows Management Agent / XenTools form add/remove programs
- Remove all XenServer related devices listed in device manager. Make sure to display also hidden devices.
Remove XenServer related devices - Install Nutanix VM Mobility 1.1.1 for Windows, you can download it from portal.nutanix.com
- Open regedit and if they are not removed then manually delete the following registry keys
-
HKEY_LOCAL_MACHINE\SYSTEM\CurrentControlSet\Services\XEN
-
HKEY_LOCAL_MACHINE\SYSTEM\CurrentControlSet\Services\xenbus
-
HKEY_LOCAL_MACHINE\SYSTEM\CurrentControlSet\Services\xendisk
-
HKEY_LOCAL_MACHINE\SYSTEM\CurrentControlSet\Services\xenfilt
-
HKEY_LOCAL_MACHINE\SYSTEM\CurrentControlSet\Services\xeniface
-
HKEY_LOCAL_MACHINE\SYSTEM\CurrentControlSet\Services\xenlite
-
HKEY_LOCAL_MACHINE\SYSTEM\CurrentControlSet\Services\xennet
-
HKEY_LOCAL_MACHINE\SYSTEM\CurrentControlSet\Services\XenSvc
-
HKEY_LOCAL_MACHINE\SYSTEM\CurrentControlSet\Services\xenvbd
-
HKEY_LOCAL_MACHINE\SYSTEM\CurrentControlSet\Services\xenvif
-
- Reboot the VM
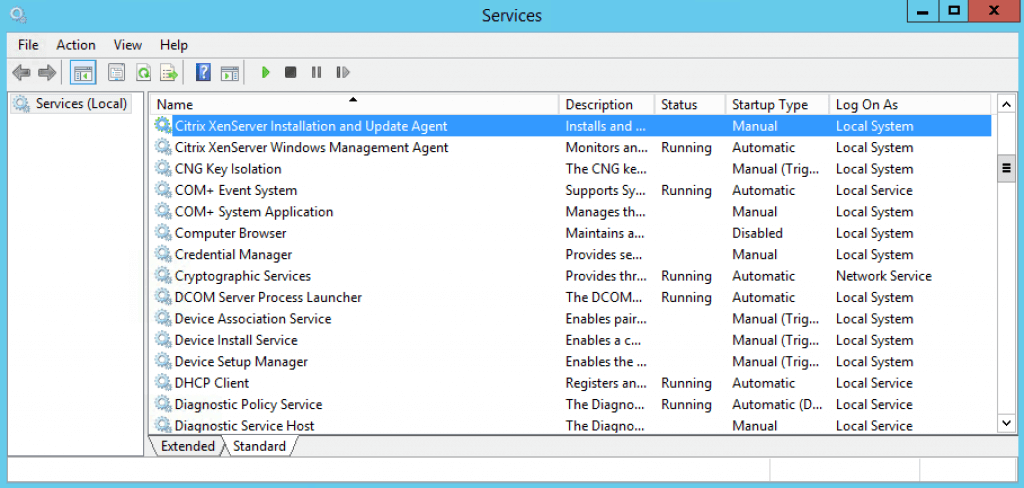
- Make sure there are no more XenServer related devices and services in your VM
- Shutdown your VM
After the reboot, also make sure that these services are removed and no longer running!
Next we will make a stageing Storage Container on Nutanix AHV
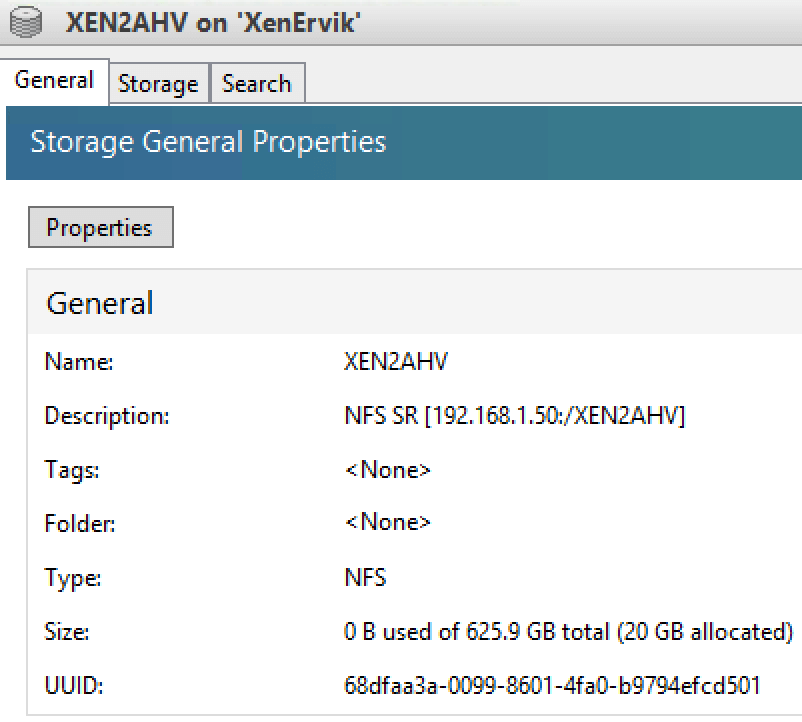
- Open Nutanix Prism, and navigate to Storage. We will create a new Storage Container to use for sharing the VHD Files between XenServer and AHV.
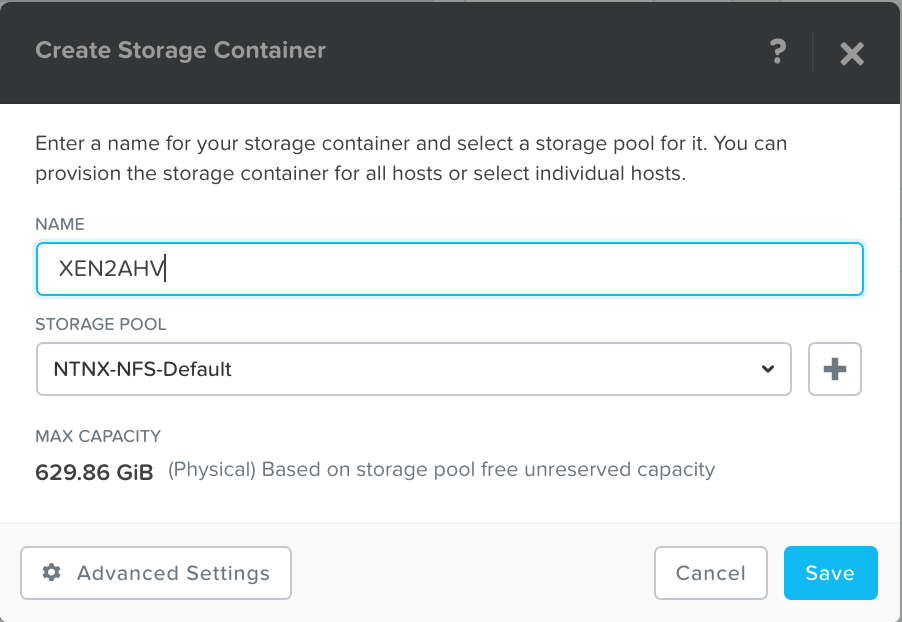
Please note that AHV does not leverage a traditional storage stack like ESXi or Hyper-V. All disk(s) are passed to the VM(s) as raw SCSI block devices. This keeps the I/O path lightweight and optimized. -
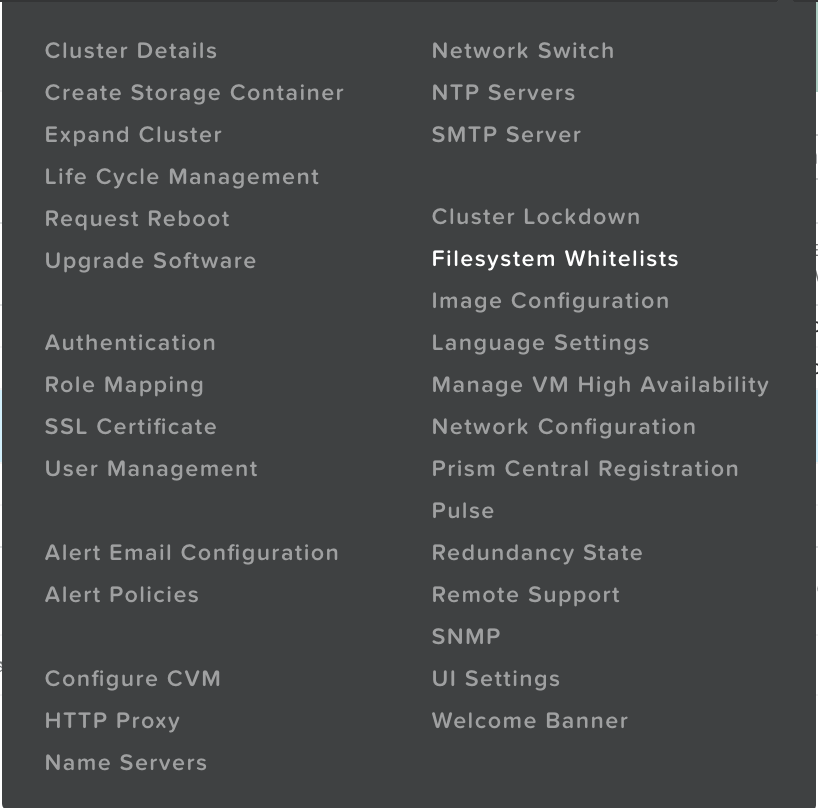
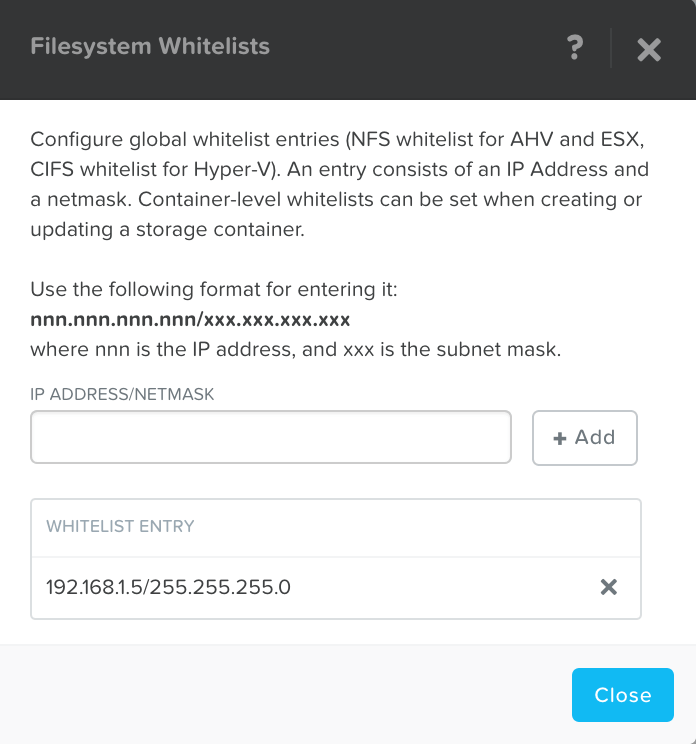
Now we need to Whitelist the XenServer machine that will mount the NFS Storage Container from Nutanix AHV.
- Next we need to mount the container as NFS storage on XenServer.
Use a Prism Admin account to connect with the Cluster IP [ClusterIP:/Container], use NFSv3 and create an new SR.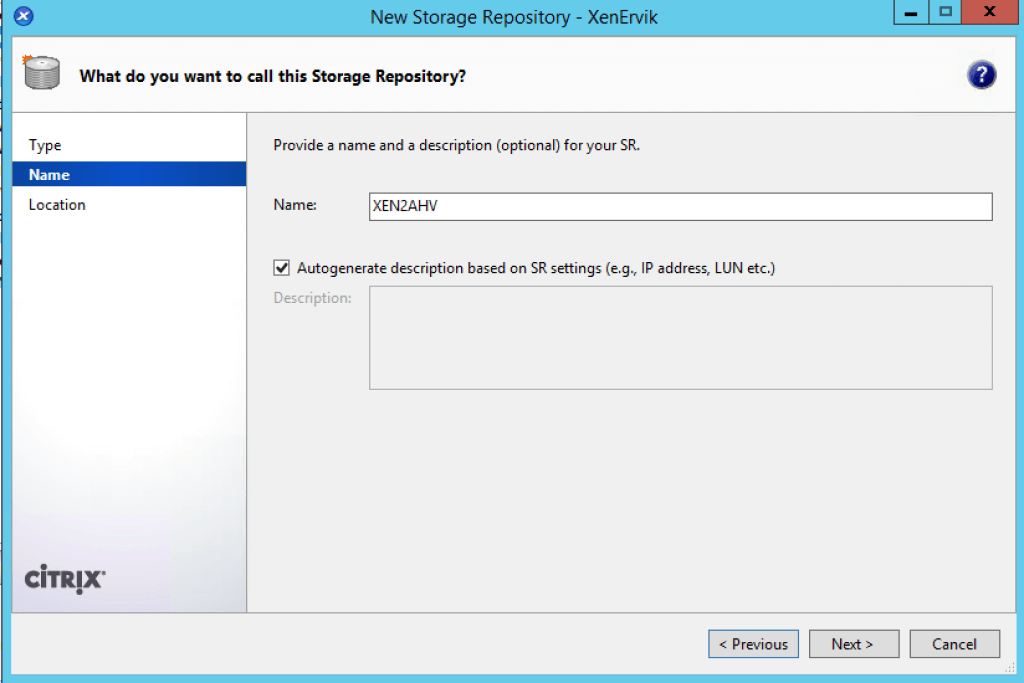
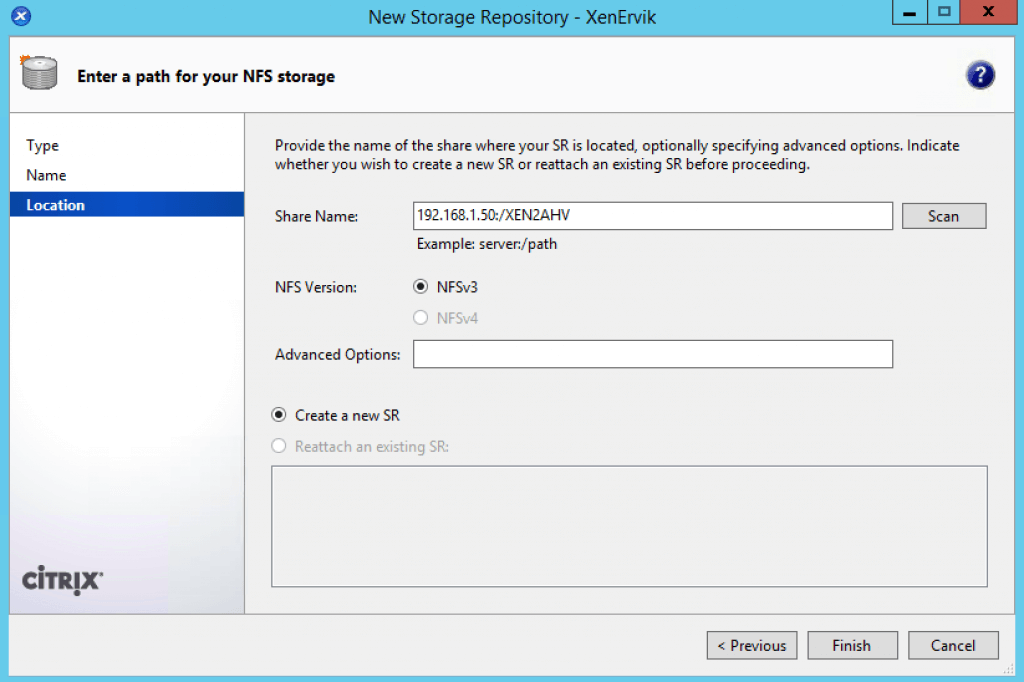
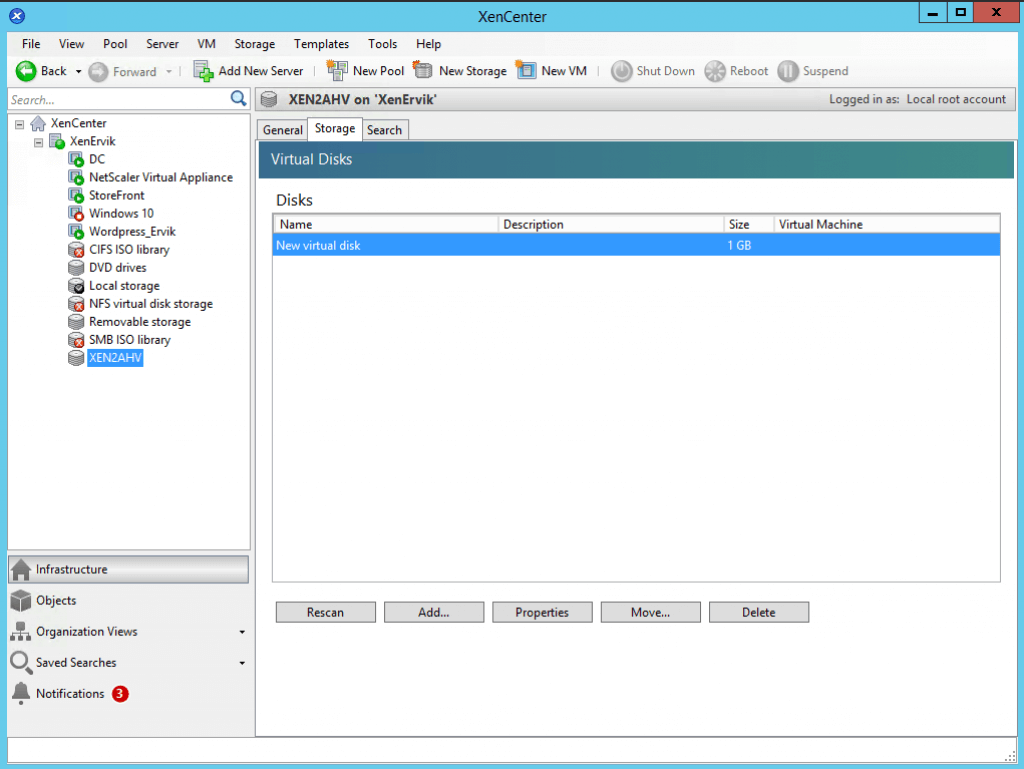
If you use the latest XenServer 7.2 management console, you might not need to enter any username and password. So, do a test and Add a dummy file to see that you can access and write to the NFS. - Now, COPY the VM to the temporary NFS storage, with a full copy!
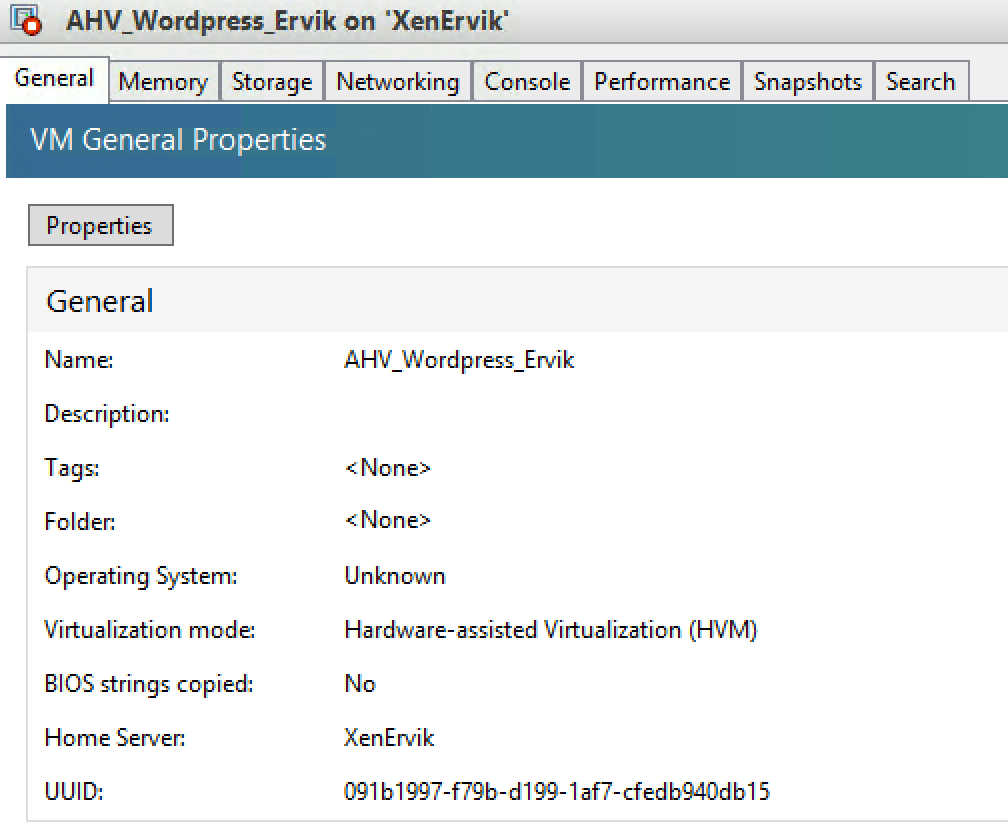
Next, we need to identify the VHD files of our migration VM
- First we need to lookup the UUID of the VM in XenCenter
- We need to also find the UUID of the Storage Container mounted from Nutanix
- Next thing we need to identify is the UUID of the copied VHD files. This is done via the XenServer CLI, and with the use of the following command -> xe vm-disk-list uuid=[UUID of the VM]
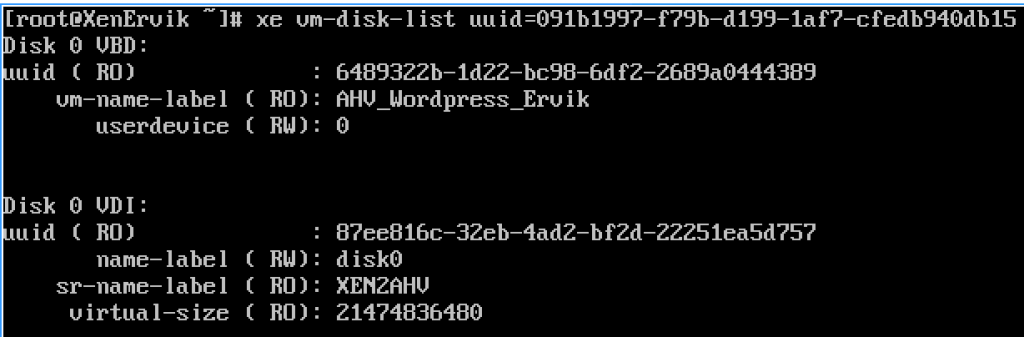
PLEASE NOTE THAT WE NEED THE UUID OF THE VDI DISK or DISKS
How to import the Disk Image(´s) via Nutanix Prism and into the Image Management Service on Nutanix AHV
- Log in to Prism, and go to Image Configuration -> Upload Image
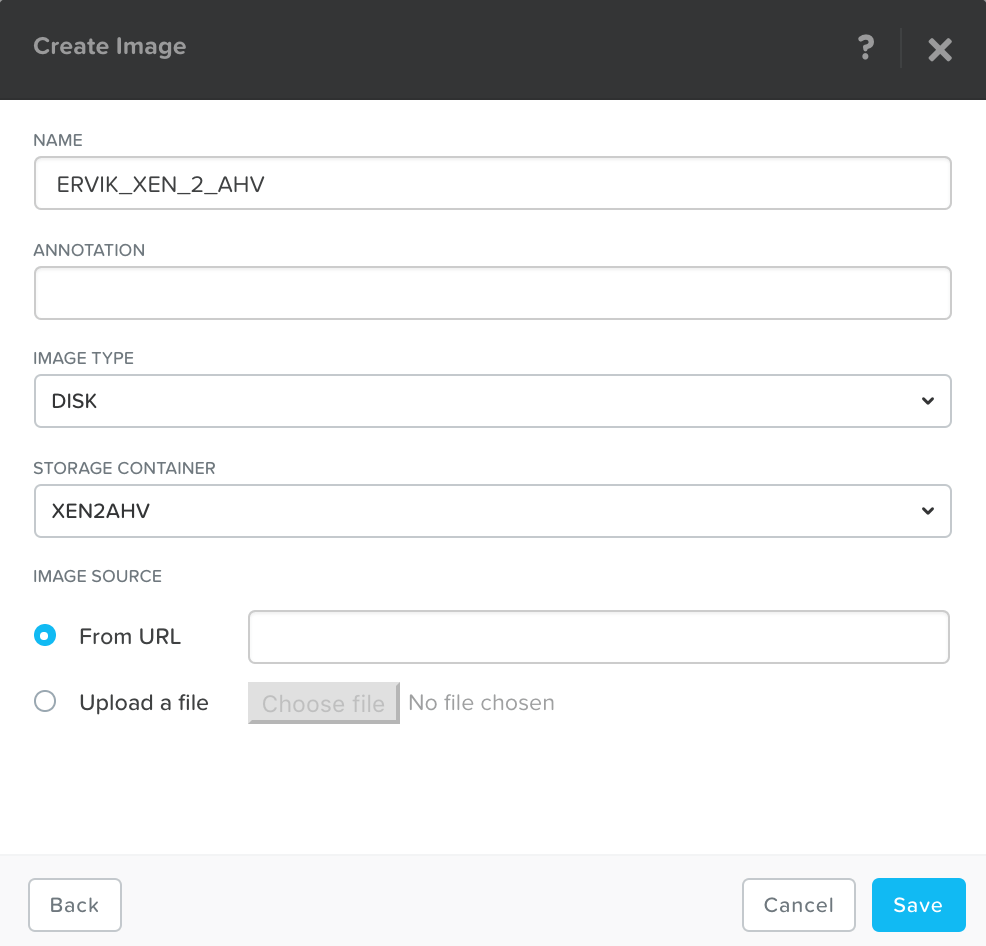
- In From URL enter the path to your temporary VHD location on NFS SR + Click Save when finished entering the From URL
nfs://192.168.1.50/XEN2AHV/68dfaa3a-0099-8601-4fa0-b9794efcd501/87ee816c-32eb-4ad2-bf2d-22251ea5d757.vhd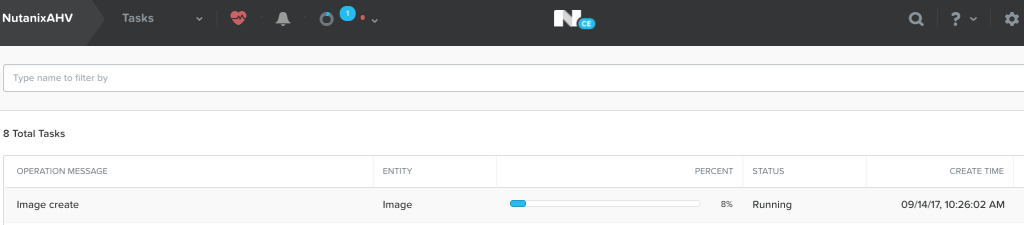
You can verify that the operation will start by looking under Tasks. Please note that the import can take some time to complete.
Next step is to create a new VM in Nutanix AHV
- Go To VM -> Create VM

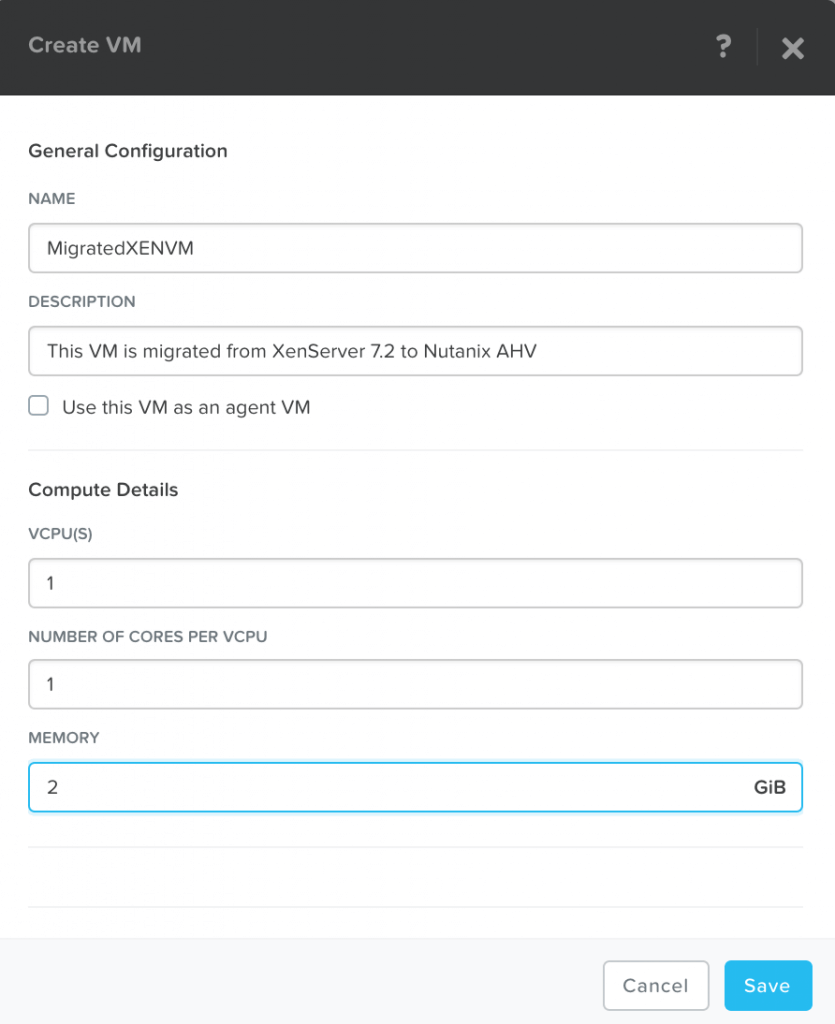
Enter the specs for CPU and Memory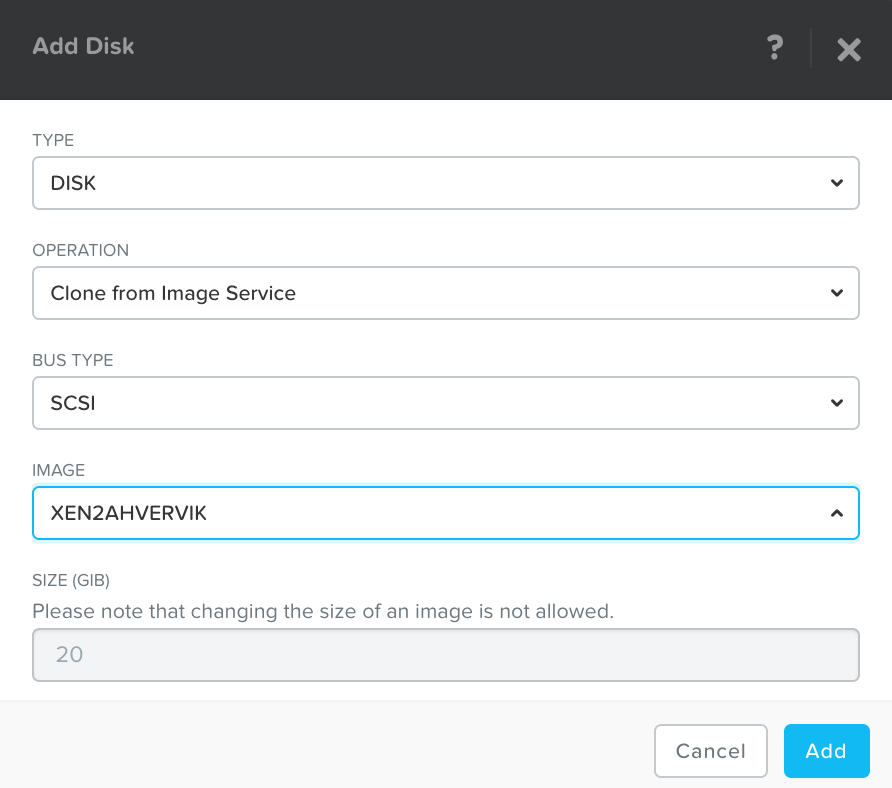
Choose ADD DISK and then Choose DISK + Clone from Image Service + IMAGE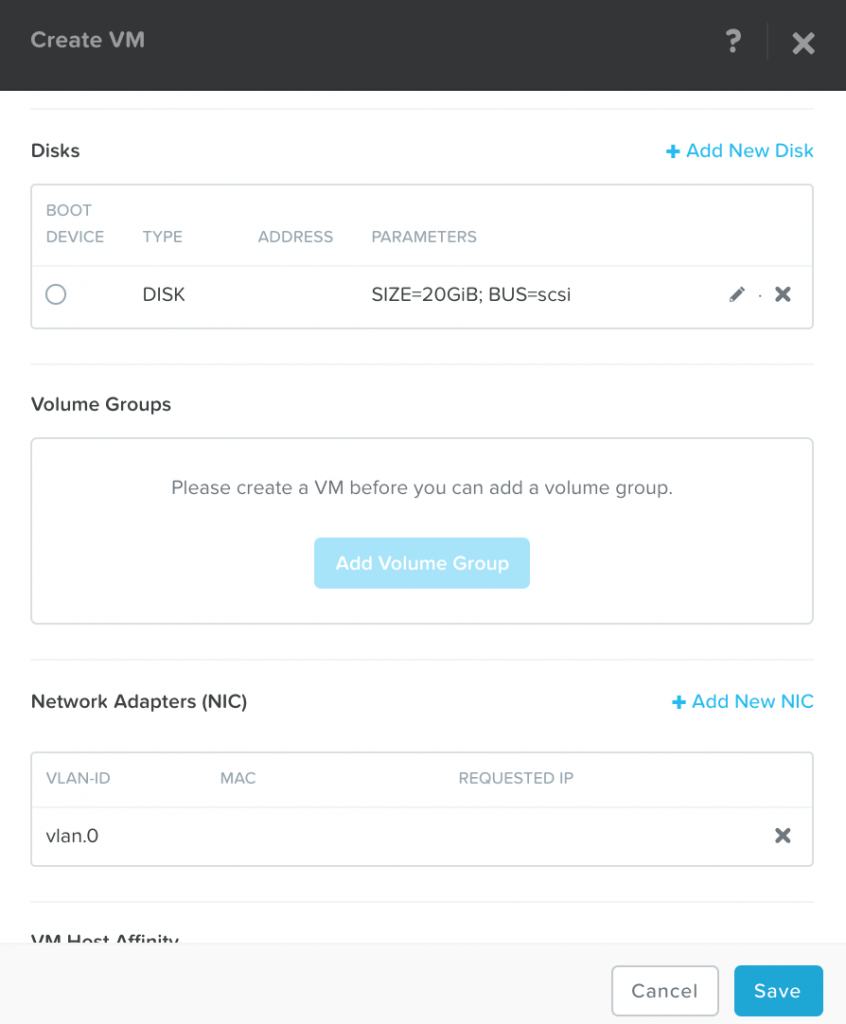
After the Disk is added you will also need to Add New NIC - SAVE
- POWER ON newly created VM
That concludes the step by step guide for migrating a VM from Citrix XenServer 7.x to Nutanix AHV. When everything is verified and you are happy with the result, you can clean up by deleting the VM on the old platform XenServer. Also, if you are not planning future migrations, you can also delete the Storage Container on Nutanix that was used for migrating.
Also, delete the Image Service Disk.